
When it comes to makeup, especially for my generation, we didn’t have the luxury of millions of tutorials that we now have access to through TikTok, Instagram and YouTube. When I first started wearing makeup, I was around 13 and in high school, and as soon as I saw one of the girls wearing it, it was all I wanted to do.
I used to turn myself one shade of orange, and when I turned 15, I used to draw my eyebrows on ridiculously with a pencil ten shades darker than I should of, as I was blonde. We all know the look of makeup blindness at a young age, where nothing is shade-matched, but it was a journey that needed to happen as a part of character building, but also the start of a skill developing with time, energy and money, of course.
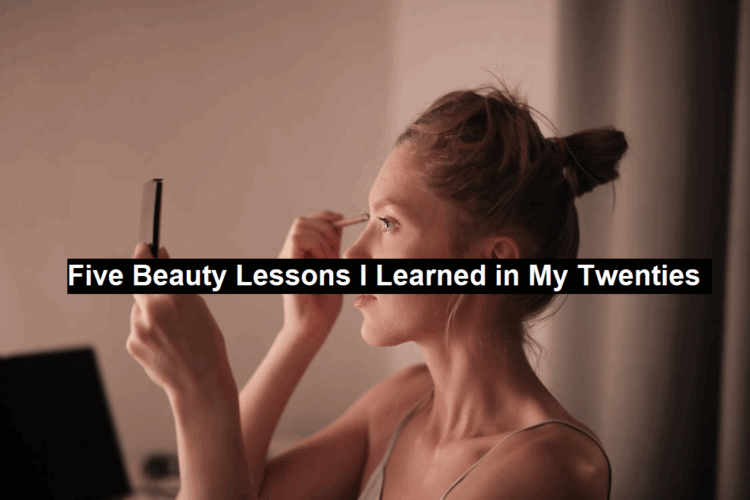
When I reached my 20s, it was crazy; in such a short period of time, my makeup skills had evolved because I changed five things about my makeup steps, which not only enhanced my natural features but also allowed me to feel a lot more confident with daily and everyday makeup looks.
Beauty Lesson Number One: Shade Matching
When it comes to shade matching, this is the most important step of all because you could have all of the best branded makeup and know exactly what to do with it, but if your shades are all off, then it will look like a mess regardless.
Shade matching goes beyond picking your foundation colour, but understanding your undertones can make a significant impact on your whole cream and powder selection.
A good example would be if you have very fair skin, you want to aim for white concealer with a slight yellow undertone, but depending on how fair you are. Powder and cream bronzers should be in cool undertones to avoid adding a red undertone and harshness to your complexion. When it comes to cream blushes, adding bubblegum, baby pinks, or even a yellow type of blush would work very nicely.
It’s shade matching, but it’s ensuring that all of your tones are recognised and complemented with the right product undertones.
Read: Styling Tips: How to Wear Fine Jewelry for Every Occasion
Beauty Lesson Number Two: Minimal Powder
If you struggle with dry skin around specific areas. For myself, it’s usually around the eyes, so then I tend to avoid powdering around this area and if I do, it’s very, very minimal, for when I have a long day of wearing makeup.
For me, when I apply powder under my eyes, the makeup cracks, sometimes separates, and other times creases a lot more. When I personally leave my under eye makeup free from powder, it looks and dries nicely without the assistance of powder, so I feel I removed a step that, while everyday seems to do it, I just didn’t need to copy.
I find that minimal powder for dry-skinned girls is a huge step forward in the right direction. I keep powder on my cheeks, neck, chin and forehead, but again, on a very minimal standpoint, and it usually comes from powdered blush and bronzer elements.
It’s also a lesson in that not everything that works for one person will work for you; therefore, it’s important to try new things and remove unnecessary steps from a makeup routine.
Beauty Lesson Number Three: Mascara Transfer
Find yourself a staple mascara that is both smudge-proof and transfer-proof. I currently struggle with this, as waterproof mascaras tend to transfer, but also non-waterproof mascaras don’t hold an eyelash curl, which has left me at a crossroads.
Therefore, I would recommend splurging on an expensive mascara that actually works because for me, this is the last and final step of my makeup, and a good mascara day transforms a boring look, and as they say, the eyes are the window into the soul; therefore, I would always prefer to have long, luxurious lashes.
Brands that I would prefer to choose are Refy Beauty, as they guarantee to hold a curl and not smudge, and the reviews seem to support their claims. Overall, do your research, and if you need to, go into a beauty store and ask the advice of some professionals.
Beauty Lesson Number Four: Powder The Lip Liner
If you are having a long day or struggle with your lip liner smudging, I have a great tip: add powder over the outer and slightly middle areas of the lip after you have applied your lip liners and any lipstick. Ensure that you haven’t already got gloss on, as it won’t work this way.
Once you’ve applied a small amount of translucent powder, you are good to go, and it will honestly last you all day and night. However, if you want a glossy lip look, then you are likely going to see some movement, as this just happens with glosses, so I tend to only add a small amount of lip gloss in the centre, and you can preserve the liner but add a glossy look.